Last updated: October 22, 2026
Key Takeaways
- Match the kit to the child’s play style, not the box art.
- Age level helps predict hand strength, reading load, and frustration tolerance.
- The label reveals more than the product name if you know what to check.
- Good kits make structure and function easy to see, not just nice to look at.
Engineering kits for kids work best when the kit fits the way a young builder likes to think: some children want to assemble a bridge kit piece by piece, others want a construction set they can rearrange, and some need mechanical parts that invite open-ended play. For Engineering Kits for Kids: How to Match the Kit to the Child, the right match comes down to age level, instruction complexity, and how much design challenge the child can handle without getting stuck.
Start with the kind of play the child already likes
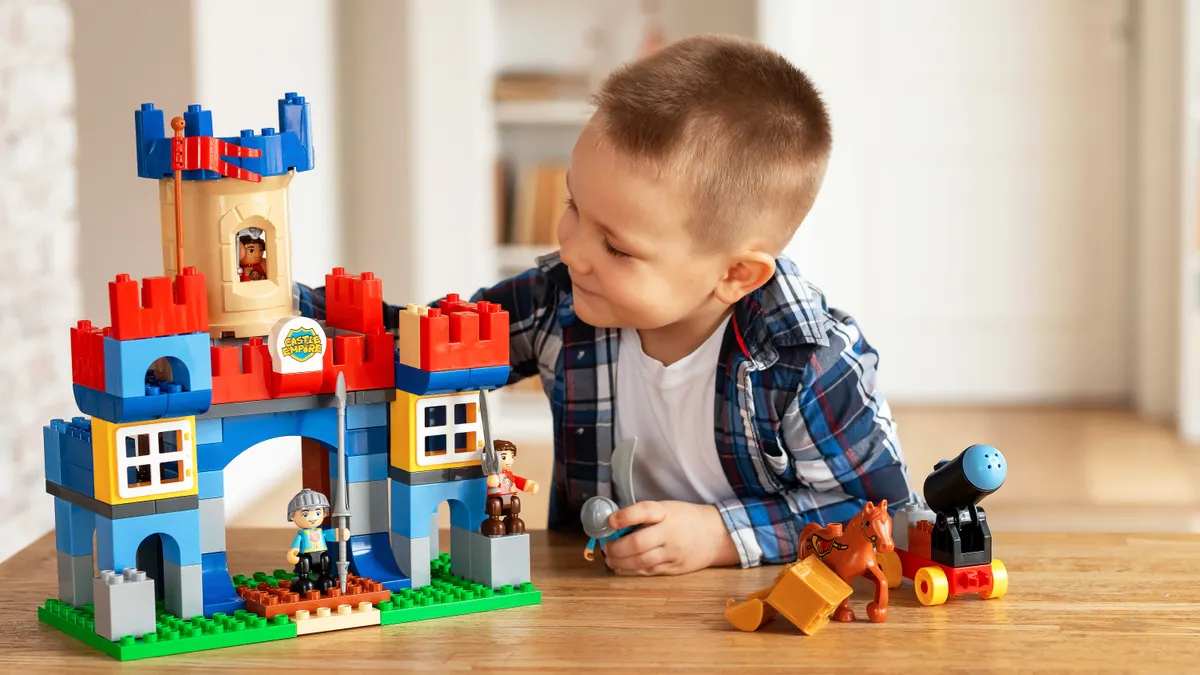
The right engineering kit starts with the child’s preferred mode of play, not the box art. A child who likes following rules and finishing a model usually does well with a kit that has a clear build sequence and a finished result, while a child who keeps tearing things apart and rebuilding them usually needs more open-ended parts and fewer fixed steps.
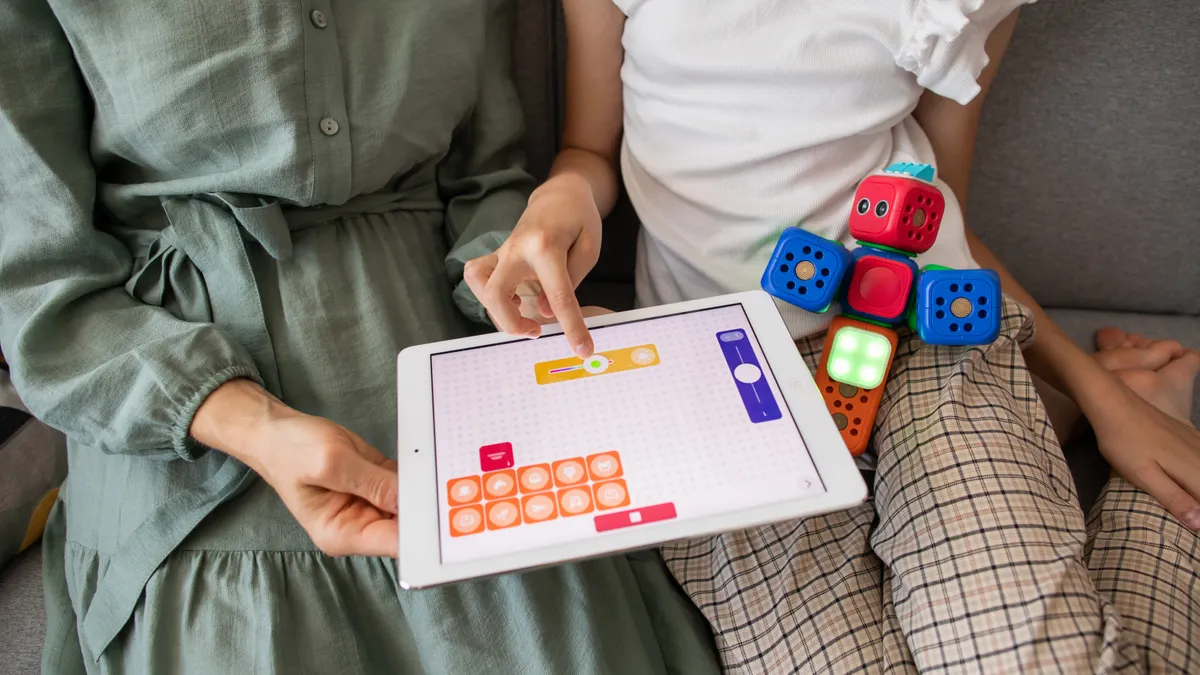
Think in three broad styles. First, there is the guided build: a bridge kit, gear kit, or vehicle model with numbered steps and one expected outcome. Second, there is the construction set: blocks, beams, connectors, and moving parts that can be arranged many ways. Third, there is the design challenge kit: a set that gives a problem, such as making a span hold weight or making a structure stand taller, and leaves the solution open.
If the child enjoys puzzle books, model kits, or Lego-style building, a guided kit with 20 to 40 steps is usually a safe entry point. If the child gets bored once the instructions are done, the better choice is a kit with extra beams, gears, or modular pieces that can be reused after the first build. That reuse matters. A kit that only works once often becomes a shelf object. A kit with open-ended play keeps earning its place.
One common mistake is buying for the adult’s idea of “educational value” instead of the child’s attention span. A very impressive kit can still be wrong if it requires 90 minutes of concentration from a builder who can only stay engaged for 15. The better match is the one the child will return to tomorrow.
Which engineering kit fits each age level?
Age level matters most because it predicts hand strength, reading load, and tolerance for frustration. A kit labeled for ages 5+, 8+, or 10+ is not just marketing shorthand; it usually reflects piece size, step count, and how much fine motor control the build needs.
For younger children, look for larger parts, color-coded pieces, and instructions with pictures rather than dense text. A 5- to 7-year-old often does better with large connectors, chunky gears, and a small number of steps per model. A child in this range may enjoy a construction set that snaps together in minutes rather than a detailed mechanical build that demands tiny screws.
For middle elementary ages, usually around 7 to 10, the sweet spot is a kit with a visible mechanism: pulleys, levers, bridges, or simple machines. This is the age when a child can start handling a more explicit design challenge, like building a truss bridge or a moving arm, but still needs clear structure. A kit with 30 to 50 pieces often feels substantial without becoming overwhelming.
Older kids, roughly 10 and up, can usually handle multi-stage builds, more parts, and more abstract instructions. This is where mechanical parts begin to matter more than decoration. Gears, axles, linkages, and tension elements let them see how force moves through a structure. At this level, a strong kit often includes a challenge beyond the model itself, such as altering the span, changing the gear ratio, or redesigning for strength.
The mistake to avoid is choosing “older” because it sounds more advanced. A child who cannot read the instructions or manage the tiny hardware will not feel challenged; they will feel shut out. A kit that is too hard creates adult rescue work, and that ruins the value of the build.
How do I read a kit label without guessing?

A kit label tells you more than the name on the box if you know what to look for. Read it for the number of pieces, the type of instructions, the tools required, and whether the kit is a one-time model or a reusable construction set.
Start with the instructions. Picture-only instructions usually work well for younger builders. Step-by-step text is fine if the reader can handle short directions. If the box mentions 50 steps for a single finished model, that kit is closer to a project than a toy. If it mentions multiple builds or interchangeable configurations, it has more room for open-ended play.
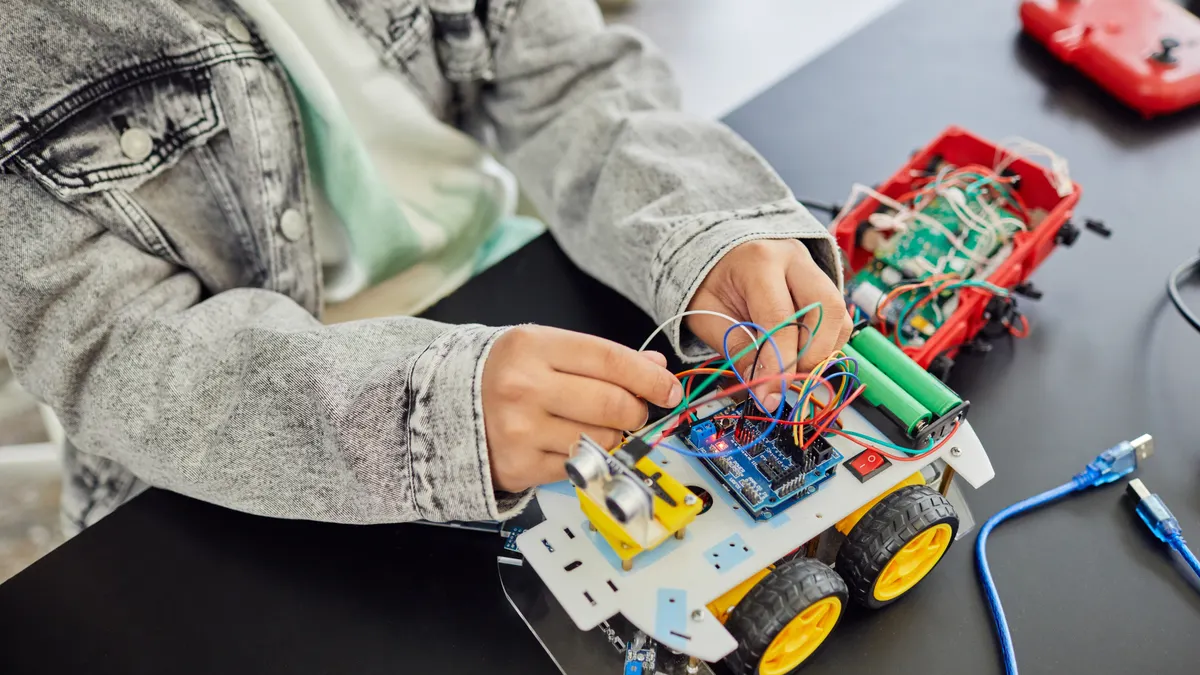
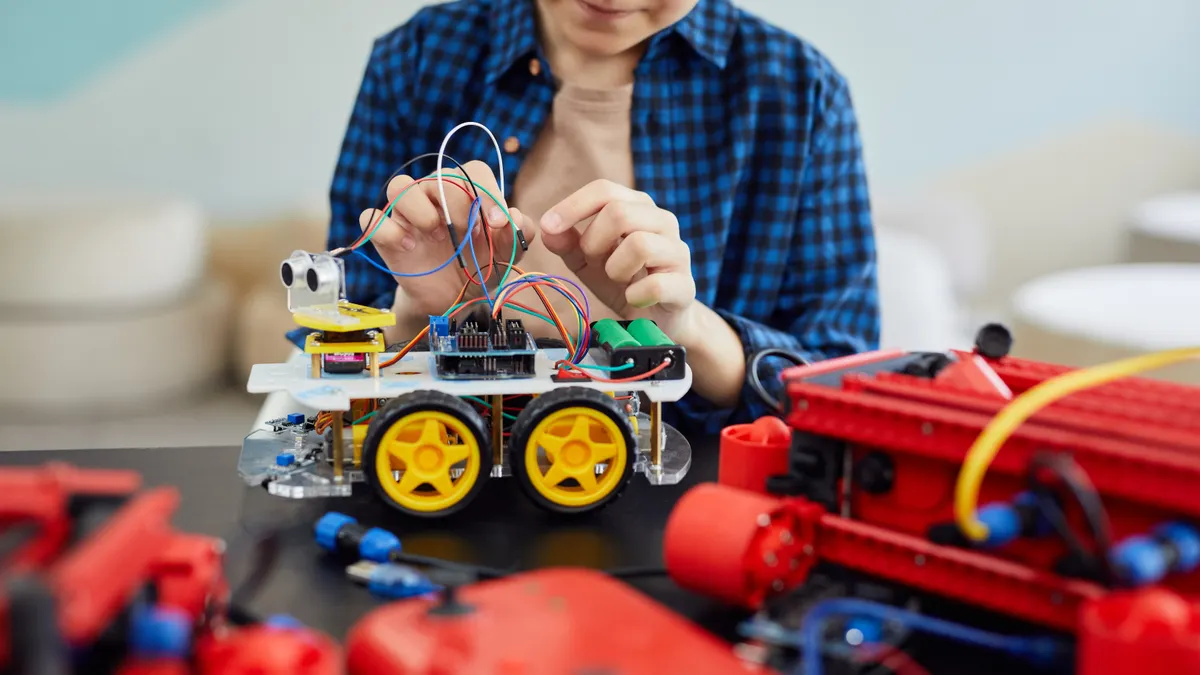
Next, check the hardware. Screws, nuts, and washers usually mean a more realistic engineering feel and more fine motor work. Snap-fit parts are easier to assemble but can feel less like actual engineering. Gears and axles signal a mechanics-heavy build. Beams, braces, and connectors point toward structure and stability. If the kit includes only decorative parts and no moving mechanism, it is probably more craft than engineering.
Then look for the type of challenge. A bridge kit usually focuses on span and support. A vehicle kit may focus on motion, friction, or steering. A design challenge kit should name the problem it asks the builder to solve. If the box only promises “fun,” it may not be specific enough to hold a child who wants real problem-solving.
A useful shortcut: if the product description mentions “open-ended,” “modular,” or “rebuildable,” it usually offers more play value after the first build. If it promises a single finished item, expect less flexibility. For a broader comparison, the STEM kits for kids guide can help narrow the field.
What materials and parts actually make a good kit?
A good engineering kit uses materials that help the child see how a structure works, not just how it looks. The most useful parts are beams, connectors, gears, axles, braces, pulleys, and flat panels that can be arranged into simple machines or frames.
Plastic parts are common because they are light, durable, and easy to snap together. They are also less satisfying in some cases because they can hide how force moves through the build. Wood pieces can feel sturdier and more natural, especially in a bridge kit or construction set, but they may offer less flexibility. Metal parts are rare in children’s kits unless the build is meant to feel more like a model machine, and they can add weight and complexity.
Mechanical parts matter because they teach cause and effect without a lecture. A gear train shows rotation transfer. An axle shows support and movement. A brace shows why triangles make structures stiffer. A pulley shows how direction changes. These are the pieces that turn a toy into an engineering kit.
Look for parts that can be reused in different builds. A kit with 100 pieces sounds generous, but if 80 of them only fit one model, it is often less useful than a smaller kit with versatile beams and connectors. Open-ended play depends on reuse. The best parts can encourage the child to make mistakes, pull the build apart, and try again.
One trade-off is that more “realistic” parts can mean more frustration. Screws and tiny bushings may deepen the learning, but they also slow the pace. A child who wants fast building may prefer a construction set over a more technical model kit. That is not a lesser choice; it is a different match.
Match the instruction complexity to the child’s problem-solving style
Instruction complexity should match how the child solves problems, not just how old the child is. Some builders want a clear path from step 1 to step 20, while others want a challenge with room to experiment. Choosing the wrong level can be the quickest way to lose interest.
Use this simple sequence when comparing kits:
- Look at the first three steps in the instructions, if they are shown. If the build starts with many small parts, fine alignment, or repeated subassembly, expect adult help and slower progress.
- Count the decision points. A kit with one obvious answer at every step suits a child who likes certainty. A kit with optional configurations or design challenge prompts suits a child who likes testing ideas.
- Check whether the kit teaches one mechanism or several. A single-focus build, such as a bridge kit, is easier to finish. A mixed kit that combines structure, motion, and balance is better for a builder ready for more complexity.
- Estimate the frustration threshold. If the child usually quits after a mistake, choose a kit with larger pieces and fewer hidden connections. If the child likes trial and error, a more open-ended kit will feel rewarding rather than confusing.
- Decide how much adult support you want to give. Some kits are designed for independent building; others work best as shared projects over 30 to 60 minutes.
The biggest mistake here is assuming that “more advanced” always means “better.” It often means more interruptions. A child who needs visible progress every 5 minutes may do better with a simpler structure than with a technically richer build that drags. The right kit should stretch attention without breaking it.
For many families, a useful middle ground is a kit with a clear final model and a second use built in. That gives the child a finish line and a reason to rebuild. For more help comparing formats, the guide to construction sets for kids can be a useful companion.
What should I choose for open-ended play versus a finished model?
Choose open-ended play when the child likes inventing new structures; choose a finished model when the child likes closure and visible accomplishment. That split sounds simple, but it solves most bad purchases.
A finished-model kit works well when the child wants a bridge, robot arm, crane, or vehicle that looks complete on the shelf. These kits often have a tighter build path and a clearer sense of progress. They are satisfying because the result is visible and the instructions do the heavy lifting. The downside is that once the model is done, the play value can drop sharply unless the parts are reusable.
Open-ended play is better when the child likes to experiment with scale, shape, and function. Construction sets with beams, rods, connectors, and mechanical parts can become houses one day and towers the next. This kind of kit supports problem-solving because the child has to decide what to build, not just how to build it. That is where the design challenge becomes real.
A practical way to decide is to ask what the child does after finishing a puzzle. If the answer is “they want another one,” a guided engineering kit is probably fine. If the answer is “they start making something different with the pieces,” a construction set is the smarter buy.
There is one honest limitation: open-ended kits can look less impressive out of the box. They may not have the instant appeal of a themed bridge kit or a branded model. But they usually last longer in the play rotation. If the goal is sustained use, not just a single afternoon, open-ended design wins more often than not. For families comparing options, the bridge kit for kids page is one place to see a more structured build.
Engineering kits for kids: how to avoid the wrong buy
The wrong kit is usually wrong for one of three reasons: the parts are too small, the instructions are too hard, or the theme does not match the child’s interest. A kit that misses on all three becomes expensive clutter.
Avoid kits that are mostly decoration. If there is little mechanical movement, no structural challenge, and no real rebuilding potential, the child may finish it once and never return. That is especially true for kits that trade on a popular theme but offer little engineering substance.
Avoid kits that are too dependent on adult assembly. If the project needs constant help with tiny hardware, precise alignment, or unclear steps, the child does not own the build. The adult does. That can still be a good shared project, but it is not a good independent kit.
Avoid kits that are too rigid for a child who likes freedom. A fixed model with no room to experiment can frustrate a builder who wants to redesign. The reverse is also true: an ultra-open kit can annoy a child who wants a clean finish and a clear result. Match the kit to the play style, not to the most advanced-sounding label.
A sensible rule is this: choose an engineering kit that can be started in 10 minutes, stayed with for 20 to 40 minutes, and rebuilt in at least one different form if the pieces allow it. That balance gives you structure, problem-solving, and enough open-ended play to keep the kit from aging out too quickly.
For readers building a broader shortlist, the STEM toys for 8-year-olds hub is the right next stop, but this page should do the first job: help you choose the engineering kit that fits the builder in front of you. For background on how kits support learning through play, see the American Academy of Pediatrics and the National Science Teaching Association resources on hands-on science learning.
The short version for buying well
Pick the kit by matching three things: the child’s attention span, the child’s favorite kind of building, and the level of instruction the child can handle without constant rescue. A bridge kit suits a child who likes a clear structural goal. A construction set suits a child who wants to keep changing the design. A kit with mechanical parts suits a child who is ready to see how motion and force work together.
If I had to reduce the whole decision to one question, it would be this: will the child enjoy solving the build, or only enjoy owning the result? If the answer is “solving,” buy for open-ended play and design challenge. If the answer is “result,” buy for a guided model with clear steps and a finish line.
That is the real difference between a kit that gets used and one that gets forgotten.
Drafted with AI; not yet reviewed by a person.