Last updated: October 23, 2026
Quick Answer: 5 to 15 minutes of setup is enough for most homeschool science experiments, and a weekly 20- to 30-minute science block can support one clear question, one variable, and one recorded result. Science Experiments for Homeschool: Simple Ideas You Can Build Into Lessons work best when they are treated as part of the lesson, not as a bonus activity you squeeze in at the end. The easiest way to make that happen is to choose short experiments with household supplies, tie each one to one science idea, and add one follow-up question or recording task so the activity teaches something, not just entertains.
Key takeaways
- A good homeschool experiment uses a simple setup, a clear question, and one visible result.
- Vinegar, baking soda, magnets, food coloring, and ordinary kitchen items can carry a lot of science.
- Short lessons are often easier to repeat, compare, or extend over several days.
- Safety matters most with heat, glass, small parts, and anything a younger learner might put in a mouth.
- The same experiment can teach different ages if the writing, prediction, and explanation change.
The easiest homeschool science experiments to start with
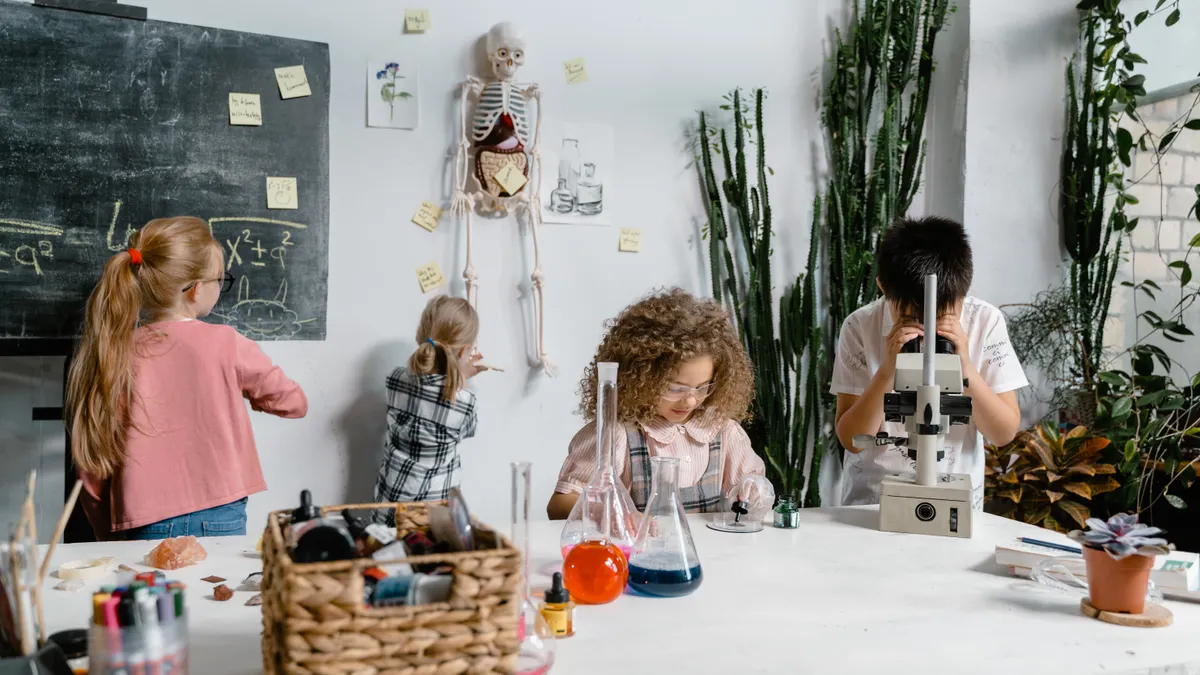
The easiest homeschool science experiments are the ones that use 5 to 15 minutes of setup and supplies already in the house. That matters because a science lesson that takes 45 minutes to prepare usually gets skipped on a busy Tuesday, while a jar, a spoon, and a few pantry items can turn into a real lesson before lunch.
Start with experiments that show a clear change. Vinegar and baking soda make gas you can see as bubbles and foam. Food coloring spreads through water and shows diffusion and mixing. Magnets let a learner test what sticks and what does not. These are not just “fun” activities; they are visual, repeatable, and easy to talk through.
A practical short list:
- Vinegar + baking soda reaction: Use 2 tablespoons of baking soda and about 1/4 cup of vinegar in a bowl or cup. The fizz shows a chemical reaction and gas production.
- Walking water with food coloring: Place 3 cups in a row, fill the outer cups with colored water, and use paper towels to move water into the middle cup over 1 to 3 hours. The color change shows capillary action and mixing.
- Magnet test tray: Put 10 to 15 small household items on a tray and sort what a magnet picks up. The learner sees that some metals respond and others do not.
- Sink or float challenge: Use a bowl of water and 8 to 10 items such as a cork, coin, spoon, plastic cap, and grape. The result builds observation and prediction skills.
- Color mixing with food coloring: Add 1 drop at a time into clear cups of water and compare primary and secondary colors. This teaches careful measurement and cause-and-effect.
These experiments can stand alone or support a bigger unit. A magnet test can lead into simple machines or Earth science. Food coloring can lead into plant transport if you add celery or white flowers. Vinegar and baking soda can introduce acids, bases, and gas formation without a lab setup.
This is also the point where many generic homeschool lists go wrong: they stop at the activity and never say what the learner should notice. Pick one observable result before you begin. “The balloon inflates,” “the color moves,” or “the magnet attracts paper clips” gives the lesson a target.
How do I make an experiment into a lesson?
You make an experiment into a lesson by giving it a question, a prediction, a record, and a short explanation after the result. That four-part structure turns a 10-minute activity into a homeschool science period that can be discussed later, reviewed in a notebook, or repeated with a change.
Use this simple procedure:
- Choose one question. Ask something a learner can answer by watching, such as “What happens if I use more vinegar?” or “Which objects will a magnet pick up?” Keep the question to one idea, not three.
- Gather 5 to 8 materials. For a vinegar and baking soda lesson, use a cup, spoon, baking soda, vinegar, a tray, and paper towels. Fewer pieces make cleanup easier and keep attention on the result.
- Ask for a prediction in one sentence. A younger learner can point or say “more foam.” An older learner can write a full hypothesis. The important thing is that the prediction happens before the experiment starts.
- Run the experiment once, then repeat one variable. Change only one thing: more vinegar, less baking soda, warmer water, a stronger magnet, or a different object. This helps the learner see that science is comparison, not guesswork.
- Record what changed. Use a notebook, a printed page, or a voice memo. Write the amount, the time, and the outcome. “2 tablespoons baking soda made more foam than 1 tablespoon” is better than “it was cool.”
- Close with a 2-minute explanation. Name the science idea in plain language: reaction, attraction, mixing, evaporation, or capillary action. If the learner can say the idea back in their own words, the lesson stuck.
Because this structure is simple, it works for a wide range of ages. A 6-year-old can circle the answer and draw a picture. A 12-year-old can write a paragraph. A high school student can note variables and describe a fair test.
The trade-off is time. A structured lesson takes longer than a one-off activity, and that is the point. If a homeschool schedule is very tight, choose one experiment a week and make it count instead of trying to do three and remembering none of them.
For a broader unit, the National Science Teaching Association’s position on investigation-based learning is worth keeping in mind, and the AAAS Science & Engineering Practices framework is a useful reference for the idea that students should ask questions, use evidence, and explain results. Those are the habits a homeschool experiment should build.
Which materials are safest and easiest to keep on hand?
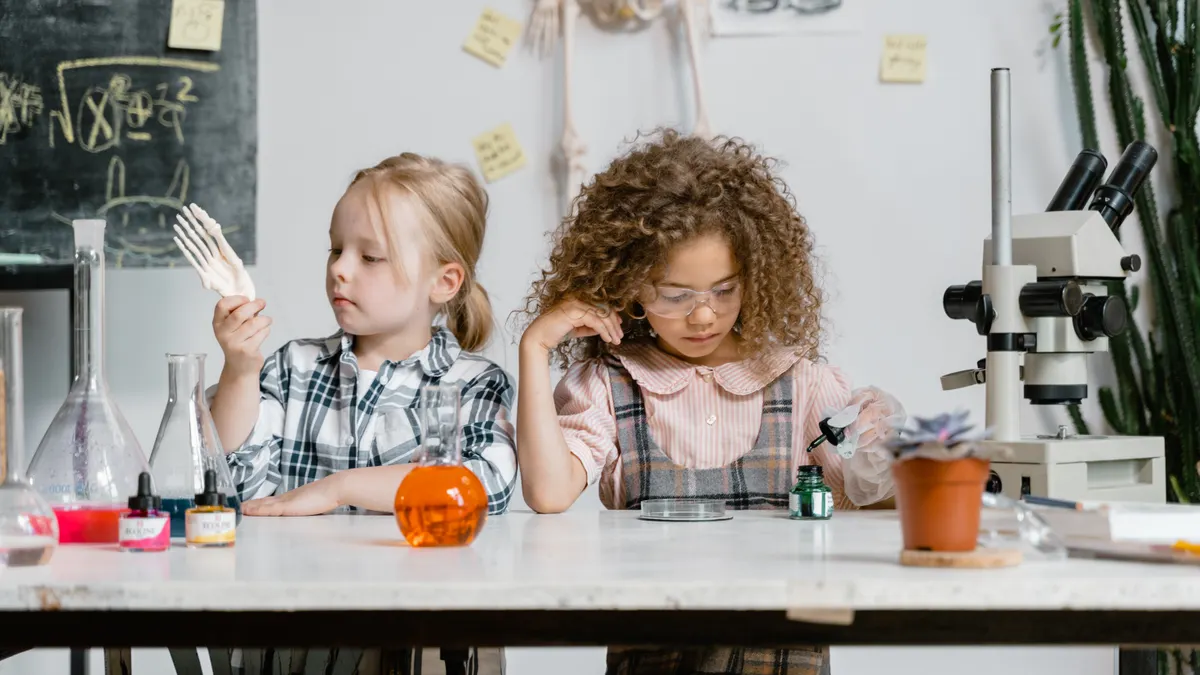
The safest and easiest materials are the ones that are common, non-toxic in ordinary household use, and simple to clean up with soap and water. That usually means vinegar, baking soda, water, food coloring, paper towels, cups, spoons, droppers, string, trays, tape, and magnets with no loose parts.
A sensible homeschool science shelf does not need a lab look. A plastic bin with a measuring spoon, a funnel, a few clear cups, and a packet of coffee filters can support several weeks of lessons. Add rubber bands, coffee stirrers, wax paper, and a flashlight, and the range gets wider fast.
Here is a practical safety filter:
- Good for most ages: water, salt, sugar, food coloring, vinegar, baking soda, paper, cardboard, plastic cups, spoons, and sealed magnets.
- Use with supervision: scissors, glass jars, sharp skewers, hot water, and candles.
- Skip for younger learners: small beads, loose button magnets, and anything that can roll under furniture and become a choking risk.
- Handle carefully: glass droppers and breakable containers, especially if the workspace is near a table edge.
The age of the learner matters as much as the material. A preschooler can do color mixing in a shallow dish with edible-looking ingredients and close supervision. A middle school student can measure 1/4 cup, set a timer for 60 seconds, and write results. A teen can compare variables and calculate a simple average if the experiment is repeated three times.
One mistake I see in generic experiment lists is treating every material as equally suitable for every age. They are not. A magnet sorting lesson is easy for mixed ages, but small magnet pieces belong nowhere near a toddler. A vinegar reaction is simple, but a closed bottle can build pressure fast, so a balloon or open bowl is the safer choice.
If the learner has allergies, sensitivities, or a habit of putting objects in the mouth, check materials before the lesson starts. A homeschool science experiment should stay inside normal household safety, not drift into a project that needs professional judgment.
Homeschool science experiments that build into a full lesson
Homeschool science experiments build into full lessons when the same activity leads to observation, vocabulary, writing, and a second round of testing. That approach can make the lesson feel like school in a clear, useful way: one idea explored from more than one angle.
Try these lesson-ready options:
- Vinegar and baking soda balloon: Put 2 tablespoons of baking soda into a balloon, 1/4 cup vinegar in a bottle, then attach the balloon and lift it so the powder falls in. The balloon inflates as gas forms. Use it to teach chemical reactions, gas, and variables.
- Food coloring in water with temperature: Place drops of food coloring into cold water and warm water in two clear cups. The color spreads faster in one than the other. That opens a lesson on motion of particles and temperature.
- Magnet scavenger hunt: Sort 12 to 20 objects around the house by magnetic or non-magnetic. The learner compares material types and learns that a magnet does not attract every “metal-looking” thing.
- Celery in colored water: Place a stalk in a cup with food coloring and water, then check it after several hours and again the next day. The color moves through the plant, which introduces transport in plants.
- Ice melt test: Put equal ice cubes on a plate, a napkin, and a metal spoon. Time which melts first. The lesson can move into heat transfer and surface material.
The strongest extension is usually a second question. After a vinegar reaction, ask what happens if the bottle is wider. After a magnet test, ask which objects are magnetic for a reason and which only look similar. After food coloring in water, ask whether stirring changes the result or just speeds it up.
A good extension does not require a whole new shopping list. It changes one variable, one time period, or one recording method. That keeps the lesson manageable and makes the science clearer.
This is also where older learners can do more than younger ones. A 4th grader might draw the setup and label the result. A 9th grader can write materials, procedure, observations, and conclusion in separate sections. The experiment stays the same, but the level of thinking rises.
What common mistakes make homeschool experiments flop?
The most common mistake is choosing an activity that is fun for 3 minutes and useless for 30. That costs you a lesson that feels thin, so use experiments with a visible result, a simple question, and at least one chance to compare.
Another mistake is changing too many things at once. If a learner adds more vinegar, uses a different cup, and stirs longer, the result gets muddy. The fix is simple: one variable per round, such as 1 tablespoon versus 2 tablespoons of baking soda.
A third mistake is treating cleanup as an afterthought. Spilled food coloring on a white tablecloth or a sink full of gritty baking soda can make the whole subject feel annoying. Put the experiment on a tray or baking sheet, keep a towel nearby, and use a measuring spoon instead of guessing by eye.
A fourth mistake is skipping the question and jumping straight to the surprise. That costs the lesson its spine. Start with “What do you think will happen?” or “Which item will the magnet pick up?” Then let the result answer the question.
A fifth mistake is making the write-up too heavy for the learner’s age. A kindergarten student does not need a full lab report, and a high school student should not be stuck only drawing bubbles. Match the output to the level:
- Ages 4 to 6: draw, circle, dictate one sentence.
- Ages 7 to 10: write one observation and one reason.
- Ages 11 to 14: list materials, steps, and conclusion.
- Ages 15 and up: add variables, evidence, and a brief reflection.
The honest limitation here is that not every topic suits a kitchen-table experiment. Some science ideas, like microscopic structures or complex chemistry, need more than vinegar, food coloring, and paper towels can give. That does not make homeschool science weak; it just means the experiment should serve the concept, not replace it.
What can I reuse week after week without getting bored?
You can reuse the same experiment format week after week by swapping the variable, the material, or the question while keeping the structure familiar. That gives the homeschool rhythm without turning science into repetition that nobody wants to touch.
A simple weekly pattern works well:
- Day 1: introduce the question and prediction.
- Day 2: run the experiment and record results.
- Day 3: repeat with one change or compare to another object.
- Day 4: write or explain what the result means.
That rhythm fits a 20- to 30-minute science block and can stretch over a month. For example, a magnet unit can move from household objects to coins, then to different surfaces, then to a scavenger hunt. A water unit can move from food coloring mixing to evaporation to capillary action.
The point is not to create a giant project every time. The point is to make science visible enough that the learner recognizes patterns. That is what turns a homeschool experiment into a lesson that sticks.
If a family is also using broader science resources, this is the point to connect the lesson to a structured path like the homeschool science kits hub, which can sit alongside these hands-on activities without replacing them.
What science experiments are safe for kids?
The safest science experiments for kids use household materials, low-risk tools, and close supervision when anything can spill, break, or be swallowed. That usually means water-based activities, food coloring, vinegar, baking soda, magnets with secure casing, and paper-based observations instead of heat, glassware, or sharp tools.
Safe does not mean unsupervised. A 5-year-old can pour colored water into cups with help, but a glass jar on the edge of a table is still a hazard. A 9-year-old can sort magnets from non-magnets, but loose small magnets should stay away from younger siblings.
The safest choices are also the cleanest to reset. If an experiment can be done on a tray with a towel underneath, it is easier to manage and repeat. A science lesson that resets quickly is more likely to happen again next week, and that consistency matters more than novelty.
For families who want a broad safety reference, the American Academy of Pediatrics has guidance on child safety, and the U.S. Consumer Product Safety Commission publishes warnings on magnets and small parts. Those sources are useful when a homeschool activity involves age-sensitive materials or pieces that could be swallowed.
Drafted with AI; not yet reviewed by a person.