Last updated: October 20, 2026
Quick Answer: The best chemistry homeschool kits usually pass 6 checks: age fit, controlled ingredients, included goggles, clear instructions, visible reactions, and manageable cleanup. Chemistry Homeschool Kits: How to Choose a Safe, Age-Appropriate Option matters most when those six pieces line up for the learner and the home.
Chemistry homeschool kits are worth buying when they match the learner’s age, keep ingredients controlled, and come with real safety gear like safety goggles, beakers, and test tubes. Chemistry Homeschool Kits: How to Choose a Safe, Age-Appropriate Option is easiest when the kit teaches chemical reactions without turning your kitchen table into an unpredictable lab.
Key takeaways
- Pick a kit by age, attention span, and how much cleanup the setup can tolerate.
- Favor kits that use sealed or pre-measured ingredients over loose powders and mystery bottles.
- A good chemistry kit should include safety goggles, clear instructions, and a short list of reaction-based lessons.
- Younger learners do best with color changes, fizzing, and simple mixing; older students can handle measured reactions and basic lab glassware.
- Avoid kits that look impressive but leave out ingredient lists, safety notes, or supervision guidance.
- If the kit depends on strong acids, open flames, or unlabeled chemicals, it belongs in a more advanced setting.
What chemistry homeschool kits should do for your family
A chemistry homeschool kit should make safe experimentation easier, not more complicated. If a kit needs extra shopping, vague substitutions, or a parent who already knows lab technique, it is usually the wrong fit for home use.
The best chemistry homeschool kits do three things well. First, they narrow the ingredient list so you know what is in the box and what is not. Second, they match the skill level of the student, which matters more than a flashy cover or a long list of experiments. Third, they keep the reactions small and visible, so the learning is clear without requiring industrial equipment.
A kit aimed at elementary grades should lean toward simple demonstrations: color changes, bubbling, dissolving, crystallizing, and basic acid-base reactions with very mild materials. A middle-school kit can introduce measuring, comparing, and recording results. A high-school kit should feel more like a real lab starter, with beakers, test tubes, measuring tools, and experiments that build toward understanding atoms, compounds, and reaction types.
The wrong fit is easy to spot. A kit that assumes the student can read long procedure sheets, handle glassware carefully, and tolerate cleanup after every lesson is not for a young beginner. A kit that is all plastic toys and no chemistry vocabulary is also a poor choice. It may entertain for 20 minutes, but it will not teach much chemistry.
If the goal is a full homeschool science plan, this page belongs under the larger homeschool science kits hub, but chemistry deserves its own screen because the safety demands are different from many other subjects. For broader home-use safety guidance, the Consumer Product Safety Commission offers product and toy-safety information, and ASTM F963 is a recognized U.S. toy safety standard for younger children.
How do I choose the right chemistry homeschool kit by age?
Choose the kit by the youngest person who will actually use it, not by the most advanced one in the house. That rule usually prevents most mismatches, but if a kit includes reactive materials or a child has special safety needs, it is worth checking with a qualified teacher or science professional before buying.
A practical way to judge fit is to look at the amount of reading, the number of steps per activity, and the type of materials included. For early elementary learners, a kit should keep each lesson short, usually around 10 to 20 minutes of active work, with a parent leading every step. The experiments should be simple enough to complete without juggling timers, scales, and multiple cups at once.
For upper elementary and middle school, look for kits that introduce measuring and comparison. A kit with graduated cylinders, small beakers, or test tubes makes sense here, as long as the instructions keep the setup tidy. This is the stage where a learner can begin tracking what changes when the amount of one ingredient changes. That is real chemistry, not just kitchen magic.
High school kits should include more precise tools and more deliberate experiments. They can involve pH indicators, reaction rates, gas production, or crystallization, but they should still be designed for home use. A kit that expects the student to identify chemicals by smell, heat substances directly on a flame, or improvise with household containers is a bad sign.
One useful filter is supervision load. If the adult needs to hover for every single step, the kit may be too advanced or too chaotic. If the student can work for 15 minutes with periodic checks, the level is probably closer.
Age labeling on the box is not enough. A kit marked “8+” can still be too messy for a sensitive learner, and a kit marked “middle school” can be too simple for a curious ninth grader. Read the experiment list and decide from that, not from marketing text.
What safety features should be non-negotiable?
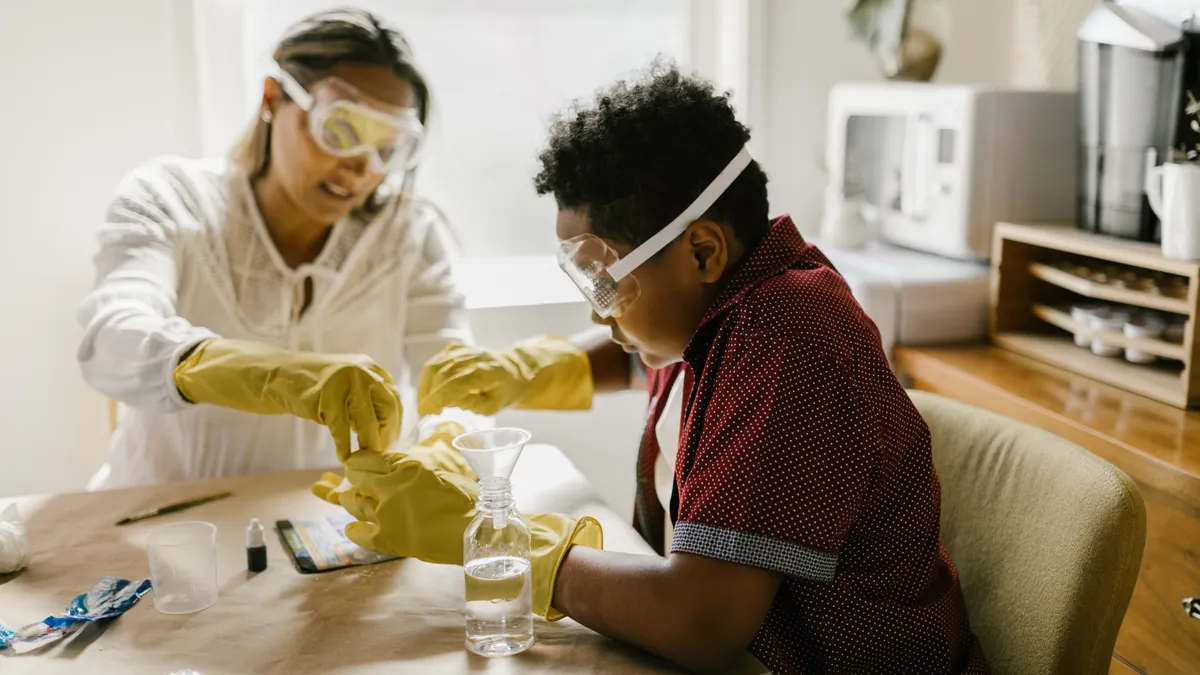
Safety goggles, ingredient control, and clear hazard notes are non-negotiable in a home chemistry kit. If those three are missing, I would skip the kit.
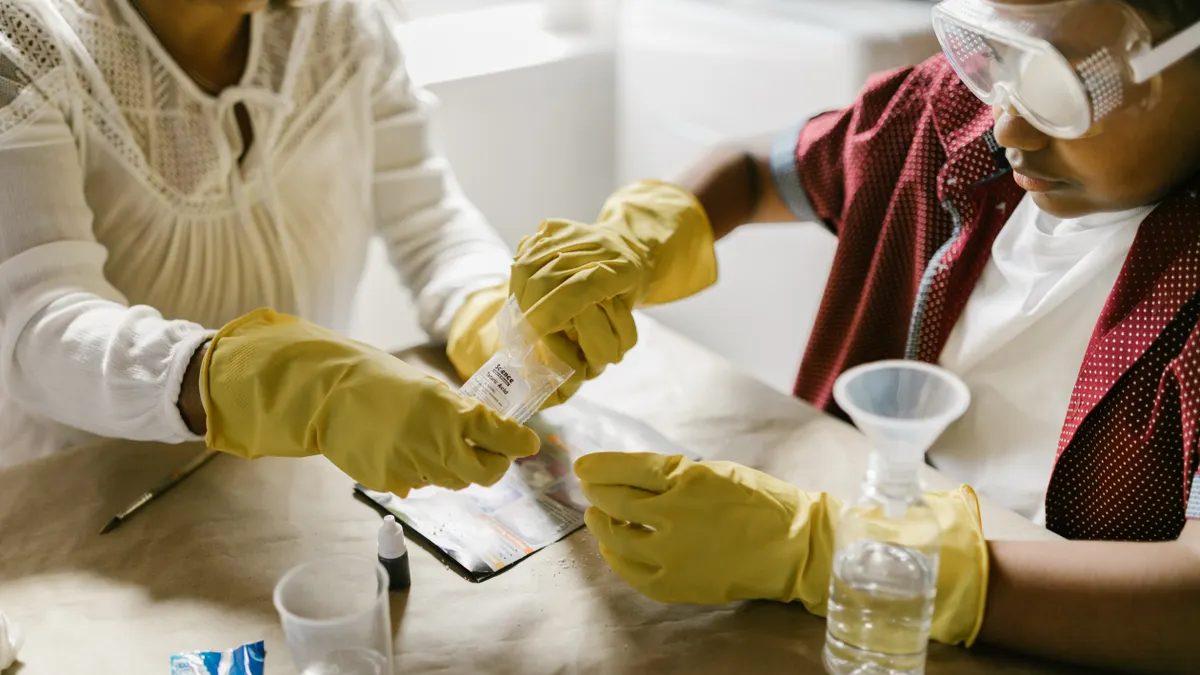
Start with goggles. Not sunglasses, not “eye protection recommended,” but actual safety goggles that fit snugly. Splashes can happen even in tiny reactions, especially when a gas is released or a powder is added too quickly. A kit that includes goggles signals that the maker expects real chemistry, not just colored water.
Next, check the ingredient control. Better kits use sealed packets, pre-measured vials, or clearly labeled bottles. Loose chemicals in unmarked jars are a headache at home and a poor fit for a learner who is still building habits. The fewer mystery ingredients, the better the odds that storage, cleanup, and repeat lessons stay manageable.
Look for a written materials list that names each substance and states what it does. That list should tell you what is consumed, what is reusable, and what should never be mixed. If the kit uses common household items such as vinegar or baking soda, that is fine as long as the instructions are precise. If it uses specialized ingredients, the label should be equally precise.
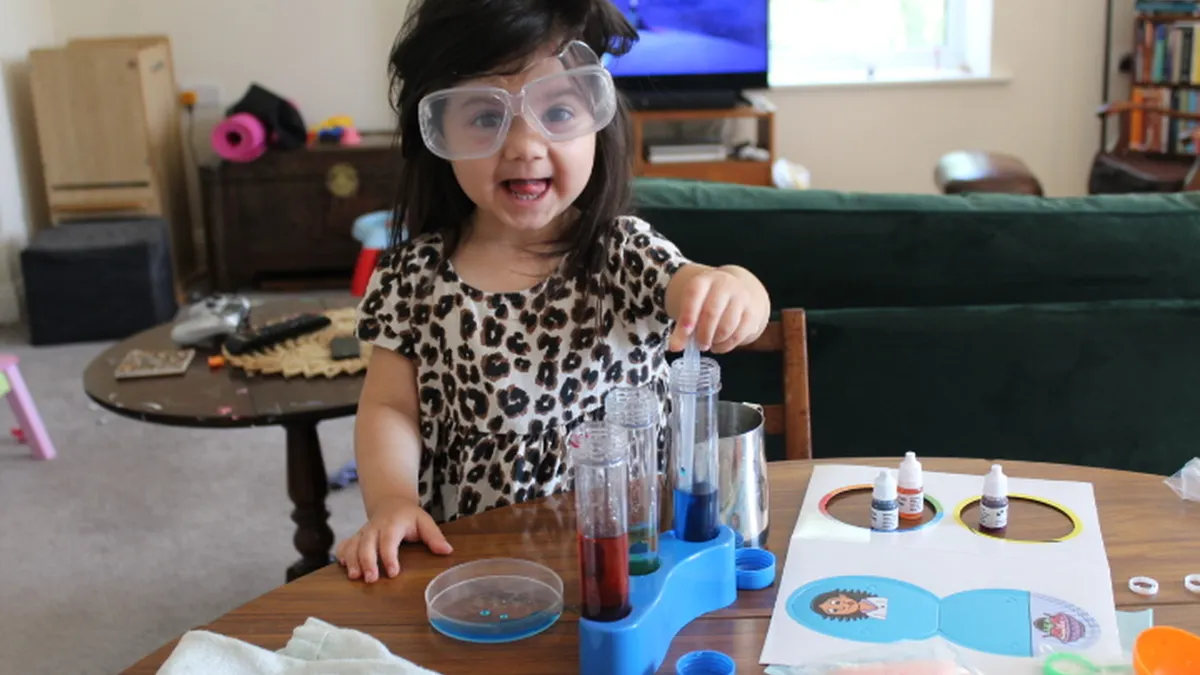
The included lab equipment matters too. Beakers, test tubes, measuring spoons, funnels, droppers, and a tray or mat all make home chemistry safer and less frustrating. Cheap-looking plastic can be acceptable for young learners, but older students should have sturdier tools that resemble a real lab setup. Glassware has advantages for heat resistance and chemical visibility, yet it also raises the risk of breakage, so it belongs with older students and careful handling.
One external standard worth knowing is ASTM F963, the toy safety standard in the United States. It is not a complete chemistry rulebook, but if a kit is marketed for younger children, a maker who references recognized safety standards is usually paying closer attention than one who does not. Consumer Product Safety Commission guidance on toy and product hazards is also worth checking before you buy a kit for a younger learner.
What should be inside the box?
The box should contain enough hardware and guidance to run several lessons without scavenging through the house. That usually means goggles, small containers, measuring tools, and a lesson guide that names each reaction.
A strong chemistry homeschool kit usually includes:
- Safety goggles that fit a range of head sizes.
- Beakers or cup-style containers for mixing.
- Test tubes for small-scale reactions.
- Droppers, scoops, or measuring spoons for controlled transfers.
- A tray or workspace mat to catch spills.
- Written directions with exact amounts, not vague “add some” instructions.
The lesson guide should do more than say what to mix. It should explain what result to expect, such as fizzing, color change, crystal growth, or a temperature shift. Without that expectation, the learner cannot tell whether the reaction worked or whether the setup went wrong.
I would also look for storage logic. A good kit keeps liquids upright, powders separated, and small parts from wandering off. Reusable containers should be easy to wash and relabel. If the kit comes with dozens of tiny pieces but no place to put them after lesson one, frustration arrives fast.
Reaction-based lessons are the core value here. Chemistry is not just collecting tools. A good kit turns those tools into visible chemical reactions that a student can repeat and explain. A lesson on acids and bases, for example, is stronger when the student sees the pH change instead of merely reading about it. A kit that never moves beyond craft-like color play is only half a chemistry kit.
How to judge ingredient control and cleanup before you buy
Ingredient control and cleanup tell you more about a chemistry homeschool kit than the box art does. If the ingredients are vague or the cleanup looks like a weekend project, the kit is harder to live with than it first appears.
The cleanest home kits use small quantities and clearly labeled ingredients. That matters because chemistry at home has to share space with food, pets, siblings, and a sink that was not built like a lab drain. A kit that uses a few milliliters or teaspoons per experiment is easier to manage than one that expects larger pours and lots of rinsing.
Strong ingredient control also reduces replacement problems. If one bottle runs out after three uses, the kit can die early unless the instructions tell you exactly where to get more. A good kit either includes enough for multiple lessons or names ordinary replacements you can obtain without guesswork. That keeps the learning sequence intact.
Cleanup deserves as much attention as the experiment itself. A parent looking at a kit should ask three questions: Can the residue be washed with soap and water? Does anything stain counters or clothing? Will the reaction create foam, smell, or sediment that needs immediate attention? If the answer to any of those is yes, the kit needs a protected workspace and more supervision.
This is also where age fit becomes obvious. Younger learners do better with short experiments that finish before attention collapses. Older students can handle a 30- to 45-minute session with cleanup built in. A kit that routinely needs a long drying time, careful disposal steps, or a dedicated shelf is more serious than many families want. That is not a flaw if you want a real lab feel. It is a drawback if you want easy weeknight science.
Which chemistry kits are wrong for home use?
Kits that rely on unlabeled chemicals, open flames, or advanced laboratory handling are wrong for most homes. So are kits that market excitement while hiding the actual materials.
A kit is a poor choice if it expects the learner to heat substances without clear temperature guidance or proper equipment. Home kitchens are not ideal chemistry spaces, and casual flame use changes the risk level fast. The same goes for kits that suggest strong-smelling compounds, reactive metals, or substances that need fume control. Those belong in a supervised lab, not beside the breakfast table.
I would also avoid kits that skip the basics in favor of novelty. If there are no safety goggles, no straightforward materials list, and no explanation of what each experiment is supposed to teach, the product is probably more toy than kit. That may still be fun, but it is not a serious chemistry homeschool tool.
Another warning sign is oversized ambition. A kit that promises a full year of chemistry but ships with a handful of reusable plastics and a thin booklet may not sustain much learning. At the other extreme, a kit with dozens of ingredients and very dense instructions can overwhelm a younger student. The wrong kit costs money, time, and morale.
This is the clearest place to be selective. I would rather choose a smaller, safer kit that supports six to ten good lessons than a giant box that looks impressive and ends up unused. Chemistry works best at home when the materials are controlled, the reactions are visible, and the level matches the learner.
A practical buying checklist for chemistry homeschool kits
A good purchase decision comes from matching the kit to the learner, the space, and the safety setup before checkout. If those three line up, the kit has a real chance of being used.
Use this order of checks:
- Read the age range and ignore the marketing photos. If the student is 8 and the kit assumes independent reading and measurement, choose down a level. The result should be lessons the learner can complete with normal supervision, not constant rescue.
- Scan the ingredient list for plain names and sealed packaging. You want labeled materials, not mystery powders or unmarked bottles. That gives you better storage, easier cleanup, and less confusion during later lessons.
- Confirm that safety goggles are included or already on hand. A kit without eye protection forces a delay and weakens the safety standard from the start. The result should be a ready-to-run setup on day one.
- Look at the tools: beakers, test tubes, droppers, measuring tools, and a tray. If the kit cannot support those basics, it may not support actual chemistry. A solid kit leaves you with reusable lab equipment, not just disposable clutter.
- Read the lesson titles and check for reaction-based variety. A balanced kit should include different kinds of chemical reactions, not ten versions of the same fizzing demo. The result should be enough range to keep the student learning, not repeating.
- Check the cleanup burden. If you cannot picture wiping the workspace, washing the parts, and storing everything in under 15 minutes, the kit may be too cumbersome for your home rhythm. Pick something simpler if your schedule is tight.
If the kit passes those six checks, it is probably usable. If it fails two or more, I would keep shopping.
Chemistry homeschool kits work best when they are safe enough to trust, simple enough to set up on a weekday, and challenging enough to teach real chemical reactions. The right one should feel like a small lab in a box, not a pile of props.
Drafted with AI; not yet reviewed by a person.